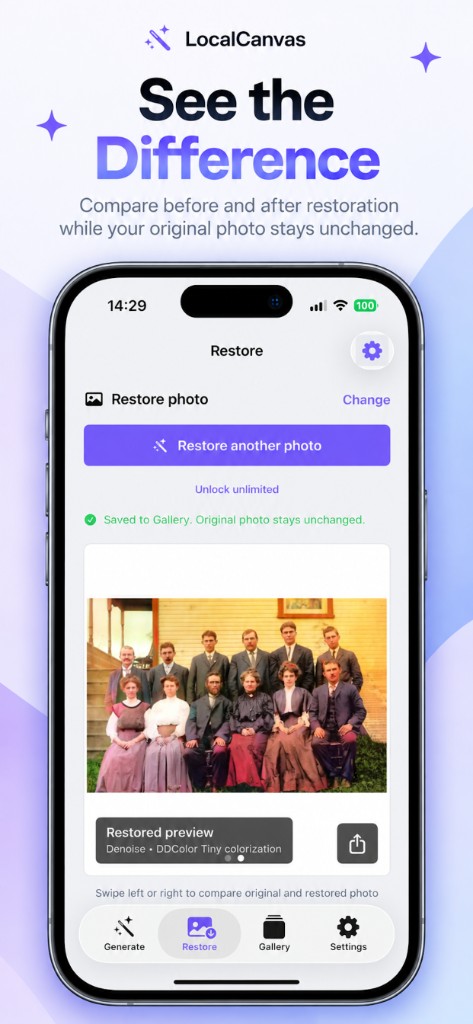
Local Canvas Restore tab after colorize and denoise, with a saved colorized family portrait and swipe-to-compare hint

Guides

How to restore scratched photos on iPhone

Hairline scratches on a print scan are a Restore job. Turn on scratch repair, run the copy, and swipe between the damaged frame and the preview. The Photos original never takes the write.

Repair a scratched print

  1. Open Restore and pick the damaged photo.
  2. Enable scratch repair. Add Denoise if the scan is dirty.
  3. Run Restore photo.
  4. Swipe to compare. Look at edges, text, and faces.
  5. Save only if the preview is cleaner than the source.
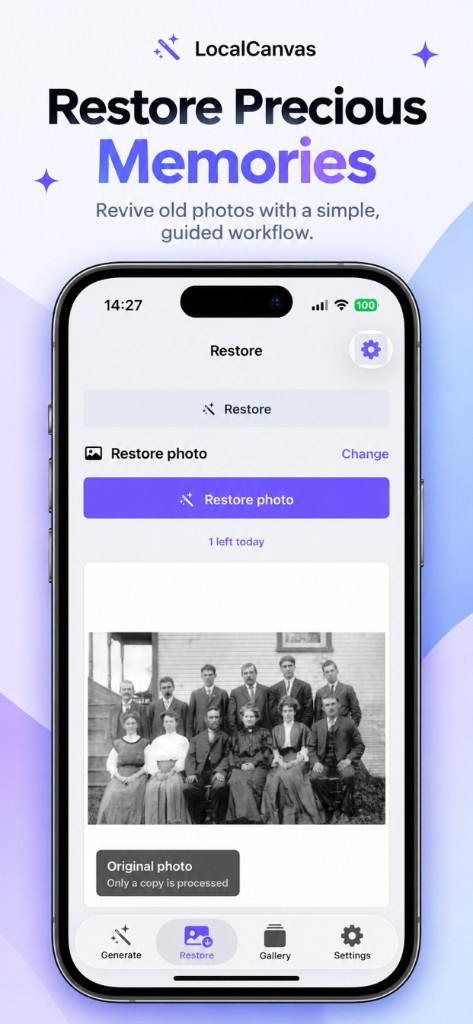
Scratch repair is not a miracle flatten

Deep gouges and missing corners can still show. The tool is built for the common case: a scanned print with surface lines. Check the preview at the damage, not just the centre of the group.

Local Canvas Restore tab after colorize and denoise, with a saved colorized family portrait and swipe-to-compare hint
Restored preview with Denoise and DDColor Tiny listed on the badge.

Compare before you spend the daily slot

The success banner reads Saved to Gallery. Original photo stays unchanged. The free tier spends the restore slot only when that save succeeds.

If you dislike the pass, the original is still in Photos. Premium is the path if you want another try the same day.

Questions on this task

Can I repair and colorize in one pass?

Yes. Colorize, denoise, and scratch repair are toggles on the same Restore run.

Does Restore show a full-screen ad?

No. Ads on the free tier are app-open and one interstitial on Generate, not on Restore.

Related guides